Now that you have decided on the best locations to monitor with your game camera, you will need to know a few tips to help make sure that you get quality deer photos. With that goal in mind, when at all possible point the camera toward the north. Not on will placing the game camera in this position greatly reduce the chance of the camera getting triggered by the sun, but it will reduce back-lighting on your subject and give you much better deer photos.
Likewise, placing the game camera in areas of heavy tree cover will also help prevent the mid-day sun from accidentally triggering the sensor. So, if you want to take better photos in a relatively open area, face the camera north. If you are trying to pattern deer using a game camera in a heavily wooded area, any direction will work.
Next, it’s important that you accurately measure the distance from the trail camera to where you expect deer to travel. If the camera is set back too far, then the sensor might not trigger and the camera will miss the shot. Of course, having a deer cross too closely is equally bad since the camera will only capture part of the deer as it passes by — or totally miss the deer all together!
Game cameras have sensors of different sensitivity, so take the time to check your camera’s sensor before placing it out in the field. To do this, simply set it up in your yard and test it by walking past it at various distances to see what works best. Hey, it’s not rocket science.
Many cameras allow the user to adjust the sensor’s sensitivity to light and set timer delays, picture resolution, day-only operation, flash or no flash, picture or video along with many other settings. If you aren’t tech savvy, spending a few minutes reading the manual and testing your camera prior to deployment will help you avoid wasted time in the field.
OK, now that the trail camera can be “roughed-in” to the area you want to monitor, it’s time for me to mention some of the more detailed tips regarding the use of your game camera to hunt those wary white-tailed bucks. When setting up the camera, make sure to clear away any weeds, twigs, or vines that could sway in front of the camera when the winds blows. Another reason to remove any twigs and especially leaves near your camera is to reduce the photos from becoming washed out.
Any object near the flash will reflect the light back into the eye of the camera, leaving you with a bunch of bad to useless photos. If your camera is infrared then flashback is not an issue, but you are still going to want to make sure the camera has a clear line of sight.
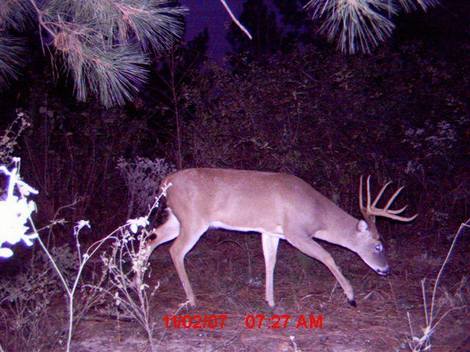
Trust me, it feels like a huge waste of time when you check your trail camera and find it’s filled with a whole bunch of photos of the same branch or a huge number of washed out photos. It’s even worse when you can’t tell what kind of bucks are in the photos.
These game camera tips come from experience — and experience comes from bad judgement. So I hope that you will learn from my mistakes, take some great game camera photos, and collect some useful population survey data in the process.